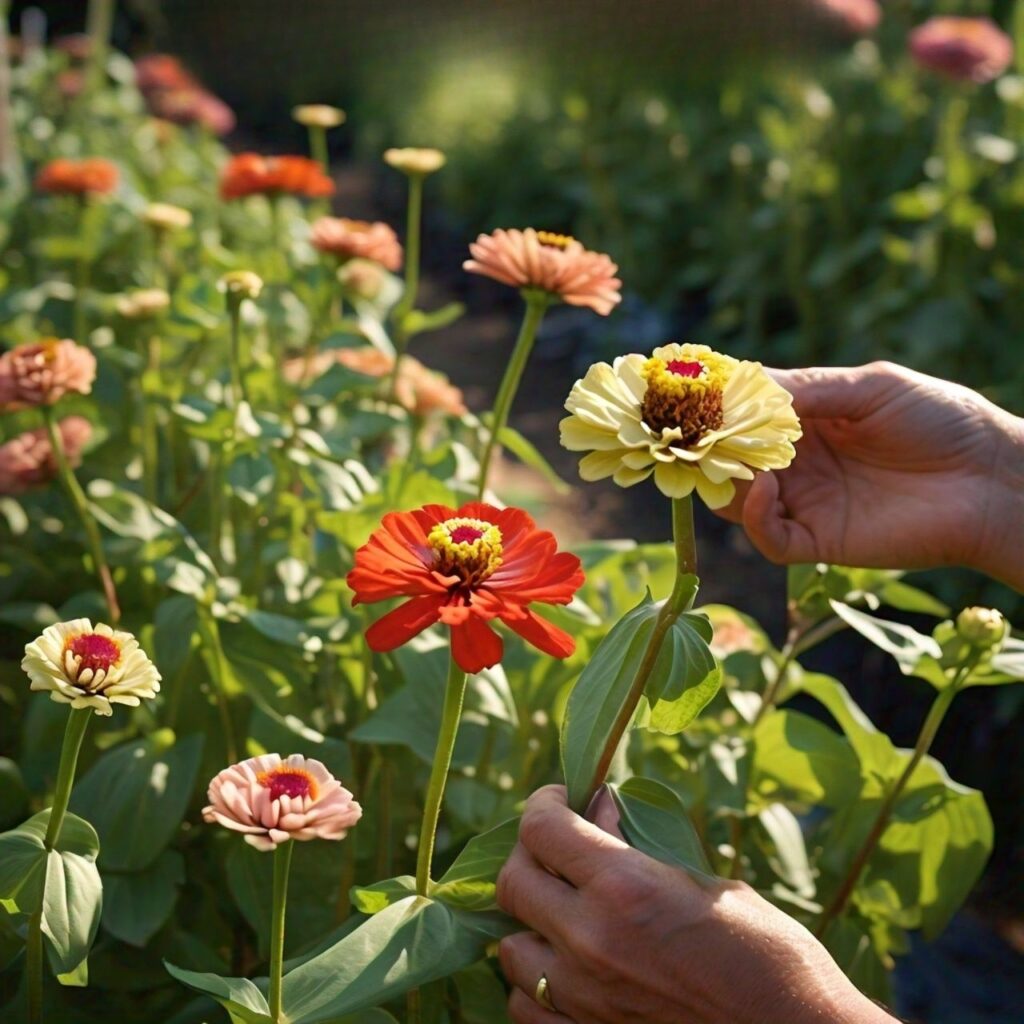
How to Harvest Zinnia Seeds with complete guidelines
Harvesting Zinnias seeds are beloved by gardeners for their bright, cheerful blooms and ease of care. Not only do they add a splash of color to your garden, but they also attract pollinators like butterflies and bees. If you want to enjoy these stunning flowers year after year, harvesting zinnia seeds is a simple and cost-effective way to do so.
Harvesting zinnia seeds allows you to preserve your favorite varieties and create a beautiful garden without the need to buy new seeds each year. The process is straightforward and can be done with just a few tools and some patience.
This guide will walk you through the process of harvesting, storing, and planting zinnia seeds.
Quick Guide to Harvesting Zinnia Seeds
| Step | Description |
| 1 | Select the Best Blooms: Choose mature, dry, and brown flower heads. |
| 2 | Allow Flowers to Dry: Let the flowers dry completely on the plant. |
| 3 | Collect the Seeds: Cut the flower heads, remove petals, and extract seeds. |
| 4 | Clean and Dry Seeds: Remove chaff and let seeds air dry for several days. |
| 5 | Store the Seeds: Label and store seeds in a cool, dry, and dark place for 3-5 years. |
This table provides a concise overview of the key steps involved in harvesting zinnia seeds.
Why Harvest Zinnia Seeds are important?
- Save money by collecting seeds from your existing plants instead of purchasing new ones.
- Maintain your favorite zinnia varieties and ensure you have a consistent supply.
- Reduce waste and promote a sustainable gardening practice
Top 5 steps to Harvesting Zinnia Seeds
Step 1: Select the Best Blooms
Choose healthy, robust zinnia flowers to harvest seeds from. Look for blooms that have fully matured and started to dry out on the plant. The petals should be dry and brittle, and the flower head should be brown and dry.
Step 2: Allow the Flowers to Dry
Leave the selected flowers on the plant until they are completely dry. This ensures that the seeds have fully developed and are ready for harvesting. Depending on the weather, this can take a few weeks after the petals have faded.
Step 3: Collect the Seeds
Use clean scissors or pruning shears to cut the dried flower heads from the plant. Cut them with a few inches of stem attached to make handling easier. Gently pull off the dry petals from the flower heads to reveal the seeds. The seeds are typically located at the base of the petals.
Carefully separate the seeds from the chaff (the remaining flower material). Zinnia seeds are small, arrowhead-shaped, and often attached to the base of the petals.
if you want more the Caraway seed substitutes then click.
Step 4: Clean and Dry the Seeds
Remove any remaining chaff or plant material from the seeds. This helps prevent mold and ensures the seeds are clean. Spread the seeds out on a paper towel or a clean, dry surface. Allow them to air dry for several days to a week.
Make sure they are completely dry before storing them to prevent mold and rot.
Step 5: Store the Seeds
Place the dried seeds in a labeled envelope or a small paper bag. Include the variety and date of harvest for easy identification. Keep the seeds in a cool, dry, and dark place. A sealed container in the refrigerator or a dry basement works well. Properly stored seeds can remain viable for 3-5 years.
Tips for Successful Seed Harvesting
- Harvest seeds on a dry, sunny day to ensure minimal moisture.
- Seeds from hybrid zinnias may not produce true-to-type plants. Stick to heirloom or open-pollinated varieties for reliable results.
- Regularly check your zinnia plants for mature seeds to ensure continuous harvest throughout the growing season.
Planting Your Harvested Zinnia Seeds
When you’re ready to plant your zinnia seeds, follow these steps for successful germination: Choose a sunny location with well-draining soil. Enrich the soil with compost or organic matter. Plant the seeds directly in the garden after the last frost date. Space them about 6-12 inches apart, depending on the variety.
Keep the soil moist until the seeds germinate. Once the seedlings are established, water them regularly and enjoy their vibrant blooms!
Conclusion
Harvesting zinnia seeds is a rewarding and economical way to enjoy these beautiful flowers year after year. With a little effort and patience, you can ensure a continuous supply of zinnias for your garden. Follow this guide to harvest, store, and plant zinnia seeds successfully, and watch your garden flourish with colorful blooms.
FAQs about Harvesting Zinnia Seeds
Q: When is the best time to harvest zinnia seeds?
A: The best time to harvest zinnia seeds is when the flower heads are completely dry and brown on the plant.
Q: How do I know if zinnia seeds are viable?
A: Viable zinnia seeds are firm, plump, and typically have a dark color. If the seeds are shriveled or discolored, they may not germinate.
Q: Can I store zinnia seeds in the freezer?
A: It’s best to store zinnia seeds in a cool, dry place. The refrigerator is preferable to the freezer, as freezing can sometimes damage the seeds.
Q: How long do zinnia seeds last?
A: When stored properly, zinnia seeds can remain viable for 3-5 years.
Q: Can I plant zinnia seeds indoors?
A: Yes, you can start zinnia seeds indoors 4-6 weeks before the last frost date. Transplant the seedlings to the garden once the risk of frost has passed.
By following these steps and tips, you can successfully harvest and grow zinnia seeds, ensuring a vibrant and colorful garden for years to come. Happy gardening!
best regards
irha techs

